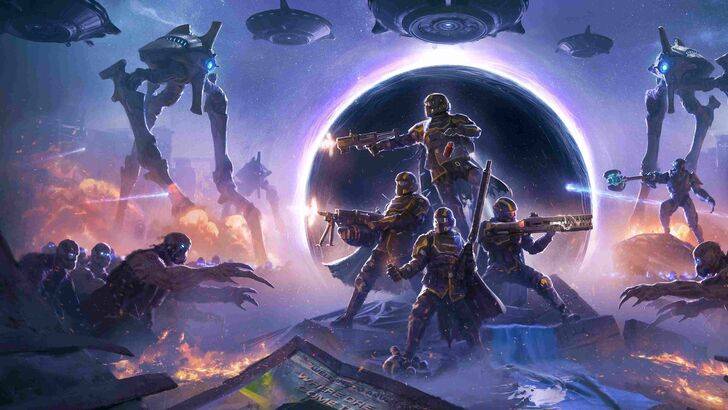
Helldivers 2: Panzerpassive Stufe Liste
Helldivers 2 Rüstung Passives: Eine umfassende Leitfaden- und Tierliste
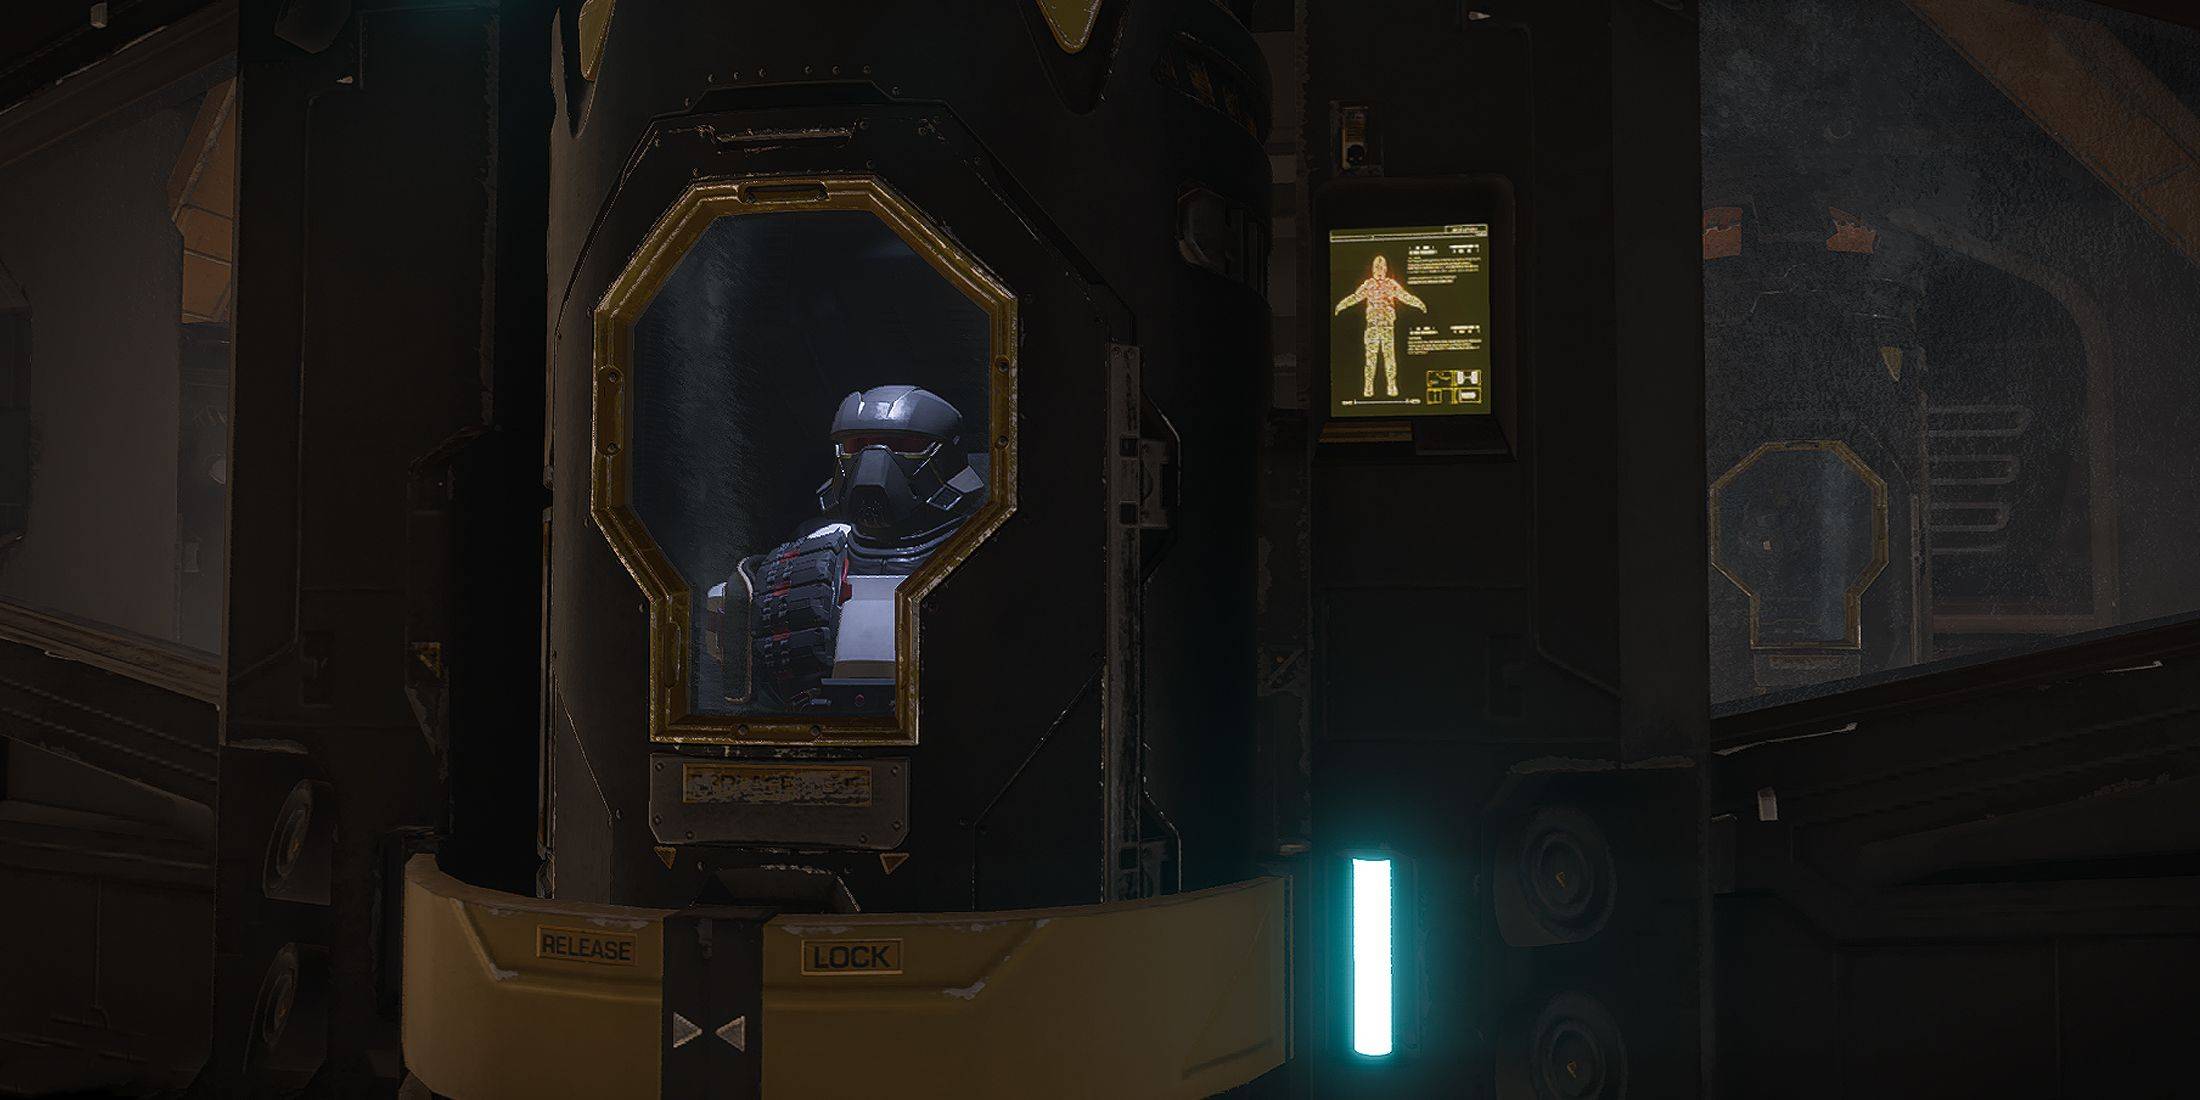
Helldivers 2 kategorisiert die Rüstung in leichte, mittlere und schwere und beeinflusste Mobilität und Verteidigung. Die wirkliche Kraft liegt jedoch in den Panzerpassiven - starke Vorteile verändern das Gameplay erheblich. Dieser Leitfaden beschreibt alle Passive und bietet eine Tierliste, um Ihre Loadouts zu optimieren.
Alle Panzerpassive und ihre Auswirkungen
Das Spiel verfügt derzeit über 14 Panzerpassive, die jeweils Ihre Strategie und Ihre Kampfwirksamkeit beeinflussen. Beachten Sie, dass nur Körperpanzer passive Fähigkeiten gewährt; Helme und Umhänge bieten keine zusätzlichen Boni.
| Armor Passive | Description |
|---|---|
| Acclimated | 50% resistance to acid, electrical, fire, and gas damage. |
| Advanced Filtration | 80% resistance to gas damage. |
| Democracy Protects | 50% chance to survive lethal attacks (e.g., headshots); prevents chest injuries (e.g., internal bleeding). |
| Electrical Conduit | 95% resistance to lightning arc damage. |
| Engineering Kit | +2 grenade capacity; 30% recoil reduction while crouching or prone. |
| Extra Padding | +50 armor rating. |
| Fortified | 50% resistance to explosive damage; 30% recoil reduction while crouching or prone. |
| Inflammable | 75% resistance to fire damage. |
| Med-Kit | +2 stim capacity; +2 seconds additional stim duration. |
| Peak Physique | 100% increased melee damage; improved weapon handling (reduced weapon movement drag). |
| Scout | 30% reduced enemy detection range; map markers generate radar scans. |
| Servo-Assisted | 30% increased throwing range; 50% additional limb health. |
| Siege-Ready | 30% increased primary weapon reload speed; 30% increased primary weapon ammo capacity. |
| Unflinching | 95% reduced recoil flinching. |
Panzerpassive Stufe Liste (Version 1.002.003)
Diese Tierliste bewertet Passive basierend auf Gesamtwert, Nutzen und Effektivität in verschiedenen Missionen und feindlichen Typen.
| Tier | Armor Passive | Why? |
|---|---|---|
| S | Engineering Kit | Extra grenades are invaluable for diverse tasks: sealing bug holes, destroying fabricators, using Thermites, and stunning enemies. |
| Med-Kit | Significantly boosts survivability, especially when combined with the Experimental Infusion booster, effectively allowing for "death cheating." | |
| Siege-Ready | Substantially improves ammo management and reload times, crucial for handling large enemy groups, particularly with high-ammo weapons. | |
| A | Democracy Protects | Provides strong early-game defense, increasing survival against lethal damage. |
| Extra Padding | Offers consistent defense boost against all damage types. | |
| Fortified | Extremely effective against Automatons, enabling survival against rockets and enhancing weapon effectiveness against robotic enemies. | |
| Servo-Assisted | Excellent against Terminids, allowing for safer stratagem deployment and mitigating injury from claw attacks due to increased throwing range. | |
| B | Peak Physique | Less impactful as melee combat is generally avoided; the weapon handling improvement is useful but outweighed by other options. |
| Inflammable | Best suited for fire-based builds and specific situations (e.g., fire tornadoes); effective against Terminids and Illuminate. | |
| Scout | Useful for revealing enemy positions, but its value is limited by the lack of additional information (e.g., points of interest). | |
| C | Acclimated | Situational; rarely will all four elemental damage types be encountered in a single mission. |
| Advanced Filtration | Only beneficial for gas-focused builds, and even then, the overall impact is relatively low. | |
| Electrical Conduit | Primarily useful against Illuminate, but other options offer superior benefits unless friendly fire is a major concern. | |
| Unflinching | Minimal impact on combat effectiveness; the reduction in camera shake and recoil is negligible. |
Trendspiele


Top-Nachrichten

](https://images.dyk8.com/uploads/18/17380116246797f3e8a8a39.jpg)


Neueste Spiele