7 Days To Die: Mastering Infested Clear Missions - Benefits and Strategies
Quick Links
In 7 Days To Die, players have the option to tackle various mission types, ranging from the straightforward, like buried treasure missions, to the intensely challenging. As you advance through trader tiers, you'll unlock progressively tougher missions, with infested missions standing out as some of the most demanding. These missions involve storming a building teeming with undead enemies and eliminating them all. Despite their difficulty, infested missions are highly rewarding, offering ample XP, valuable loot, and sometimes rare rewards. This guide will walk you through everything you need to know about successfully completing infested missions in 7 Days To Die.
How To Start An Infested Clear Mission
 To embark on any mission, you'll first need to visit a trader. In a standard map, you can find five different traders: Rekt, Jen, Bob, Hugh, and Joe. While it doesn't matter much which trader you approach, the mission location and tier are crucial factors. Higher-tier missions are more challenging, and the biome where the mission is set can significantly affect the difficulty level. For instance, missions in the forest are less likely to encounter ferals compared to those in the Wasteland.
To start an infested mission, you must first unlock tier 2 missions by completing 10 tier 1 missions. Infested clear missions are notably tougher than standard clear missions, with a higher number of zombies, including tougher variants like radiated zombies, cops, and ferals. Tier 6 infested clear missions represent the pinnacle of difficulty in the game. By the time you reach this level, you should be well-equipped to handle them. Regardless of the tier, the objective remains the same: eliminate all enemies within the designated area.
Completing An Infested Clear Mission
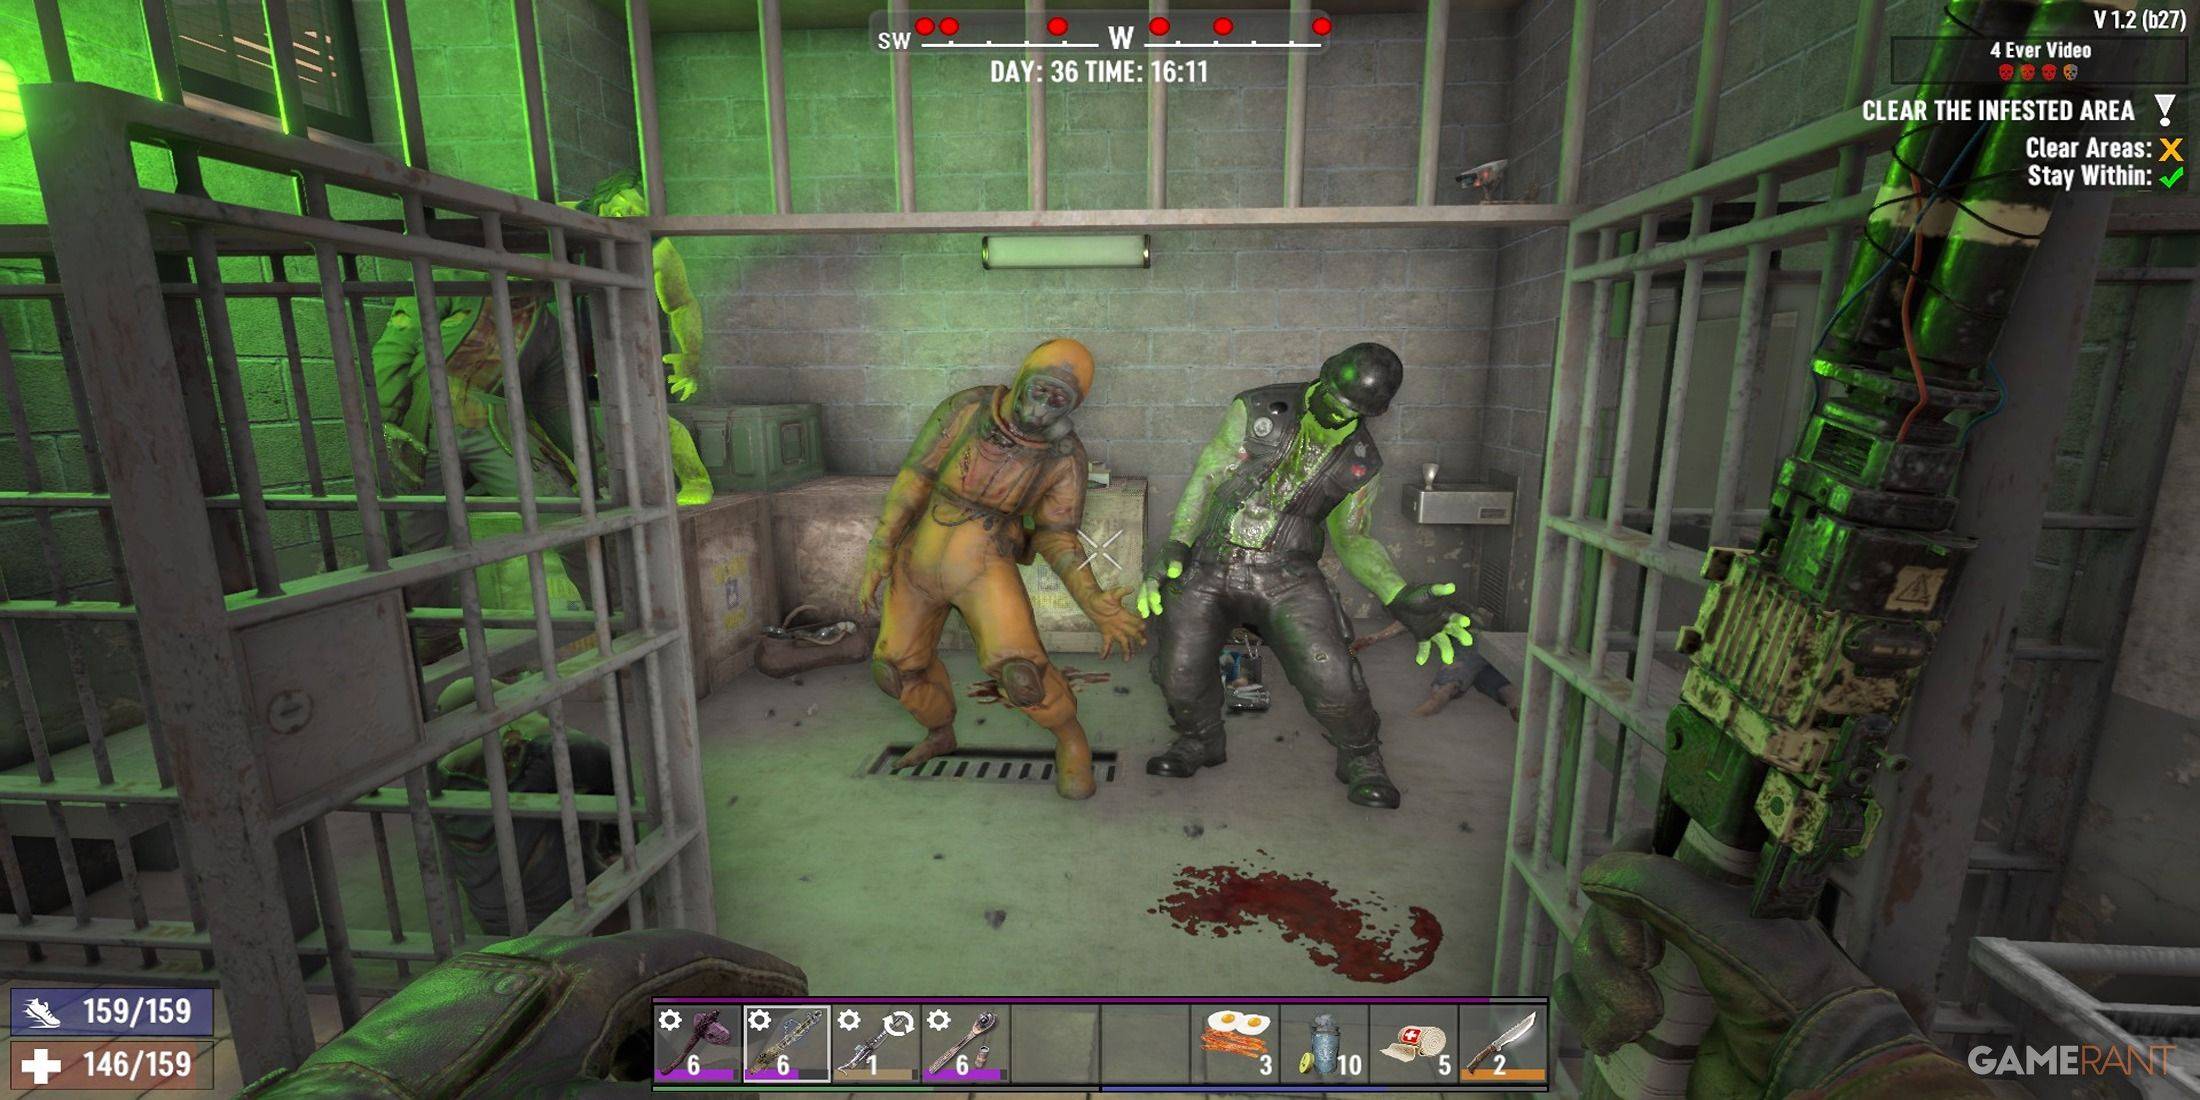
 Upon reaching the mission's point of interest (POI), you'll need to activate the mission by interacting with the marker in front of the building or area. Once activated, you cannot leave the area without failing the mission. If you die during the mission, you'll respawn outside the mission zone, resulting in a failed mission.
Each POI has a preferred route, marked by lighting like torches or lanterns. These paths often lead to trigger points, which can activate events such as collapsing floors or zombie hordes. To minimize risks, take alternative routes through the POI to avoid these triggers.
A useful strategy for navigating dangerous locations is to carry building blocks. These can help you escape traps by quickly building your way out or even allow you to bypass the main path and surprise the zombies from a different angle.
During a clear mission, activated zombies will appear as red dots on your screen, with larger dots indicating closer proximity. This feature helps you track and manage zombie positions to avoid being overwhelmed.
When dealing with zombies, aim for the head, their primary weak point. However, some zombies have unique abilities that require special attention:
Zombie Type
Abilities
How To Handle Them
Cops
Spit toxic vomit and explode when injured
Cops signal their vomit attack by throwing their heads back. Use this moment to take cover and maintain distance to avoid their blast radius.
Spiders
Jump across large distances
Listen for their distinctive screeching sound before they leap. Quickly aim for headshots when they're close.
Screamers
Scream to summon other zombies
Prioritize killing screamers first to prevent additional zombie spawns.
Demolition Zombies
Have a glowing explosive package taped to their chest
Avoid hitting their chest to prevent triggering the explosive. If it starts beeping, retreat immediately.
The final room of an infested clear mission typically holds high-value loot containers. However, this room also often houses the largest concentration of zombies. Before entering, ensure you're fully healed, your weapons are in good condition, and you have a clear escape route planned. Knowing your surroundings is crucial for survival. If overwhelmed, retreat swiftly.
After clearing all zombies, your mission objective will update, prompting you to return to the trader to claim your reward. Don't forget to collect all valuable loot, including the unique infested cache, which contains additional ammo, magazines, and other high-quality items.
Infested Clear Mission Rewards
 Upon returning to the trader, you'll be able to select a reward, which is randomly determined. The quality and rarity of these rewards depend on several factors:
- Game Stage
- Loot Stage
- Tier Selection
- Skillpoint Selection
Your game stage increases naturally as you play, and similarly, your loot stage can be boosted through skills like Lucky Looter or by using the treasure hunter's mod. Higher mission tiers also yield better rewards.
To maximize your rewards, consider investing skill points in the A Daring Adventurer perk. This perk not only increases the Dukes you earn from missions but also, at rank 4, allows you to choose two rewards instead of one. This is particularly advantageous if you're aiming for rare items like solar cells, crucibles, or legendary parts.
After claiming your rewards, it's wise to sell any unwanted items to the trader. Each Duke earned from sales grants 1XP, and selling in bulk can quickly accumulate thousands of XP with minimal effort.
Latest Articles
Trending Games


Top News

![Roblox Forsaken Characters Tier List [UPDATED] (2025)](https://images.dyk8.com/uploads/18/17380116246797f3e8a8a39.jpg)


Latest Games