Ultimate Guide to Demonology Gear
Identifying Ghosts in Demonology can quickly turn into a guessing game if you aren’t using all of the equipment available to you. To ensure you're equipped with the right tools and avoid any guesswork, follow our comprehensive **Demonology equipment guide** below.
How to Buy and Use Equipment in Demonology
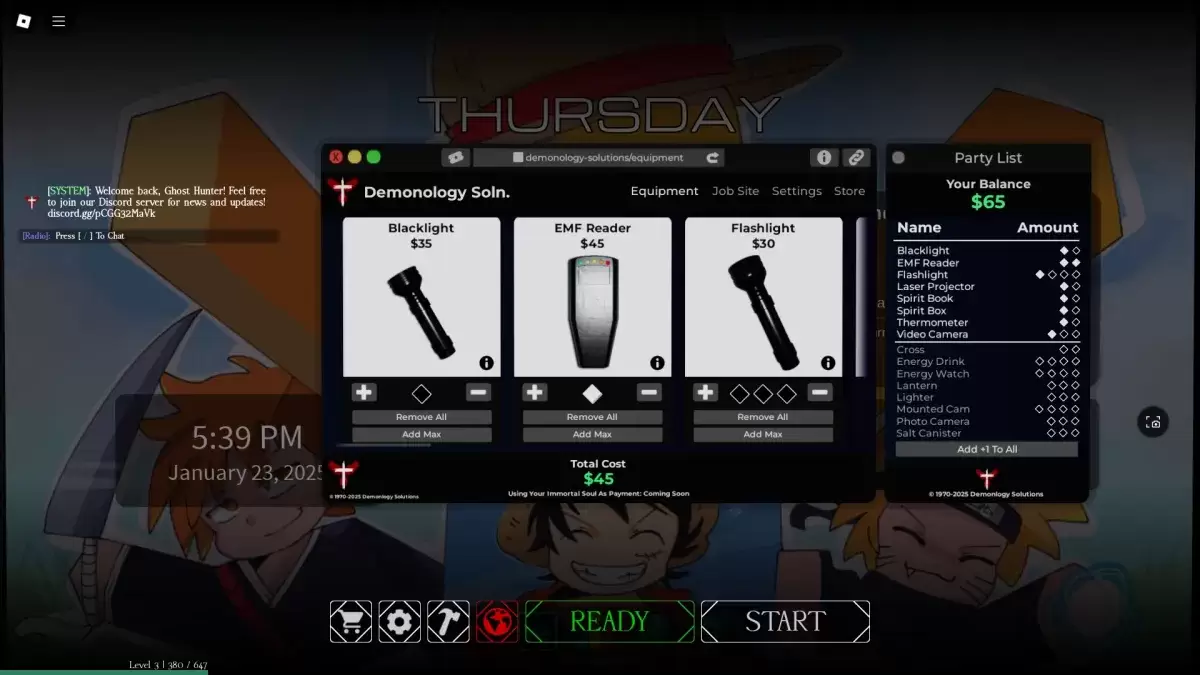
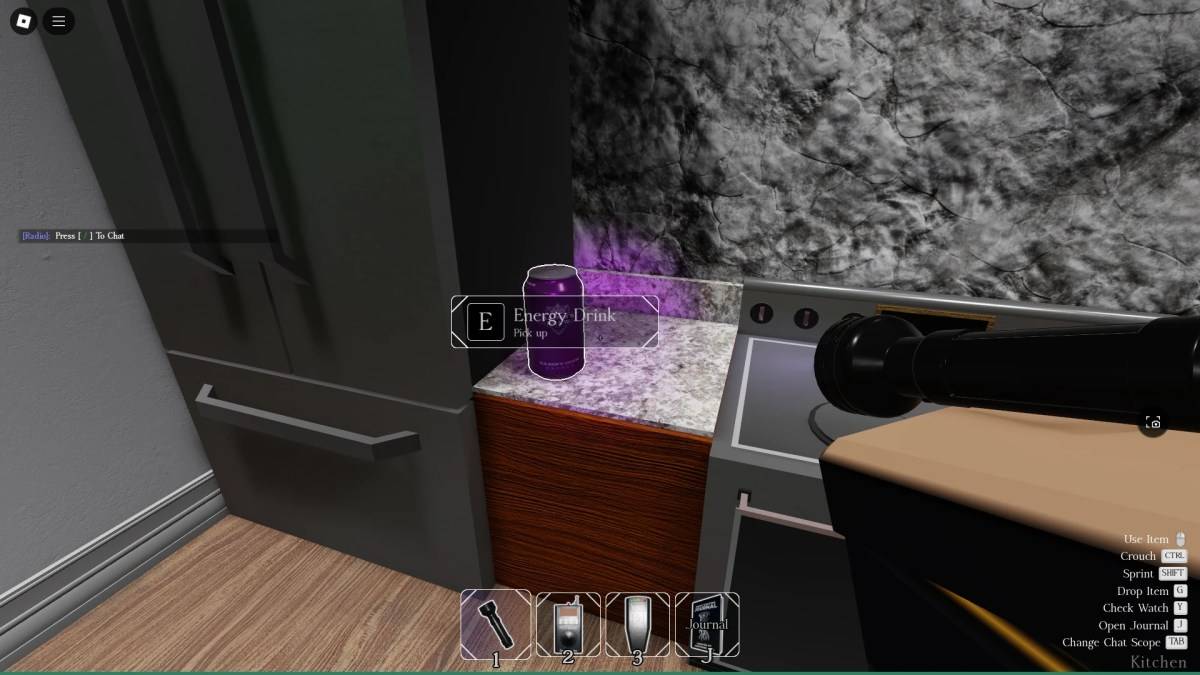
Before embarking on a Demonology run, you have the opportunity to **purchase additional equipment**. Remember, the items you buy will only be available for your **next run**, so make your choices wisely. Keep an eye out, as some items may also spawn within investigation areas. You can carry up to three items at once. To use equipment, simply press the **RMB (M2)** button, and to drop it, press the **G** key.
Evidence Equipment in Demonology
Evidence equipment is **crucial for identifying Ghosts** in Demonology. These tools are primarily used to **gather the evidence** needed to pinpoint the type of Ghost you're confronting. For more detailed insights, check out our guide on how to identify Ghosts in Demonology. Additionally, evidence equipment can be used strategically to **lure Ghosts into manifesting**, perfect for capturing those essential photos.
| Item | Use | Party limit | Price |
|---|---|---|---|
| **Blacklight** | • Activate the Blacklight to search for fingerprints, handprints, or footprints left by Ghosts. | 2 | $35 |
| **EMF Reader** | • Use the EMF Reader to detect Ghost activity nearby. It will light up and emit a loud sound when active. Drop it to use as a perimeter scanner. | 2 | $45 |
| **Laser Projector** | • Turn on the Laser Projector and place it on the ground. It emits beams that can highlight any Ghost movement around it. | 2 | $65 |
| **Spirit Book** | • Place the Spirit Book on the ground. If a Ghost leaves evidence nearby, it will pick up the book and write in it. | 2 | $40 |
| **Spirit Box** | • Use the Spirit Box to initiate dialogue with nearby Ghosts. They may choose to respond or ignore you. | 2 | $50 |
| **Thermometer** | • Activate the Thermometer to monitor the temperature. Normal room temperatures range from 15-19 degrees; deviations could indicate a Ghost's presence. | 2 | $30 |
| **Video Camera** | • Use the Video Camera to view Ghost Orbs. Place it on the ground and monitor it via the PC at spawn. | 3 | $50 |
Optional Equipment in Demonology
Optional equipment in Demonology enhances your survival and aids in completing secondary mission objectives. Like other equipment, there's a limit on how many you can bring into a run as a party.
| Item | Use | Party limit | Price |
|---|---|---|---|
| Flashlight | • Use the Flashlight to illuminate a cone in front of you. | 4 | $30 |
| Cross | • Use the Cross to repel a Ghost during a hunt. | 2 | $30 |
| Energy Drink | • Consume the Energy Drink to restore Energy. | 4 | $30 |
| Energy Watch | • Activate the Energy Watch to monitor your remaining Energy. | 4 | $50 |
| Lantern | • Hold the Lantern to prevent passive Energy drain. | 3 | $15 |
| Lighter | • Use the Lighter to ignite the Lantern, candles, or as a light source. | 3 | $10 |
| Mounted Cam | • Similar to the Video Camera, but can be equipped alongside other items. Monitor it via the PC near spawn. | 4 | $50 |
| Photo Camera | • Use the Photo Camera to capture images of Ghosts and complete optional objectives. | 3 | $40 |
| Salt Canister | • Use lines of Salt to ward off some Ghosts and secure handprint evidence. | 3 | $15 |
That covers everything you need to know about equipment in Demonology. For more Roblox guides, visit the Roblox guides section of Escapist.
Latest Articles









![Roblox Forsaken Characters Tier List [UPDATED] (2025)](https://images.dyk8.com/uploads/18/17380116246797f3e8a8a39.jpg)
